Starting Seeds 101 (For Little To No Cost DIY)
What you need to get your seeds started:
Seed trays
Soil
Seeds
Water
Sun/Light
CO2
Sounds simple enough... except we are bombarded with tons of unnecessary products every spring. Do we really need seed trays, soil amendments, compost tumblers and more? Not really. The goal of this guide is to show you how you can get your seeds started early for little to no cost.
Let's start with seed trays.
You'll see a lot of different options for commercial seed trays made from plastic. Looks convenient, but these trays break easily, do not store well, and end up continuing plastic pollution. In contrast, there are many DIY seed tray options. But not all of them are good... and simple is best.
We find these the easiest to use:
Egg cartons or egg flats (contact your local diner if you don't have any)
Plastic berry containers or yogurt containers with knife holes in bottom
Plastic or metal basins like old baking pans, muffin pans, or other types of trays
Any rectangular bin that is around 1-2 inches in height
Why we prefer paper egg cartons/flats as our #1 seed tray:
biodegradable AND even plantable (as shown above)
paper medium which holds soil moisture without pooling too much moisture
pre-fab indentations are easy to fill with soil
egg flats are easy acquired/free
keeps seedlings organized into pods
easy to create microclimate (as shown below)
can hold high volume of seeds, cartons have up to 24 indentations (top and bottom) or these flats have 30 indentations each
Process
Dampen the cartons/flats with water, either by spraying water with your hands or a spray bottle works
Add your compost or soil medium, pressing into each indentation slightly
Use a pencil to create one central hole in the center of each pod
Place one to three seeds per pod
Close holes and water it down nicely
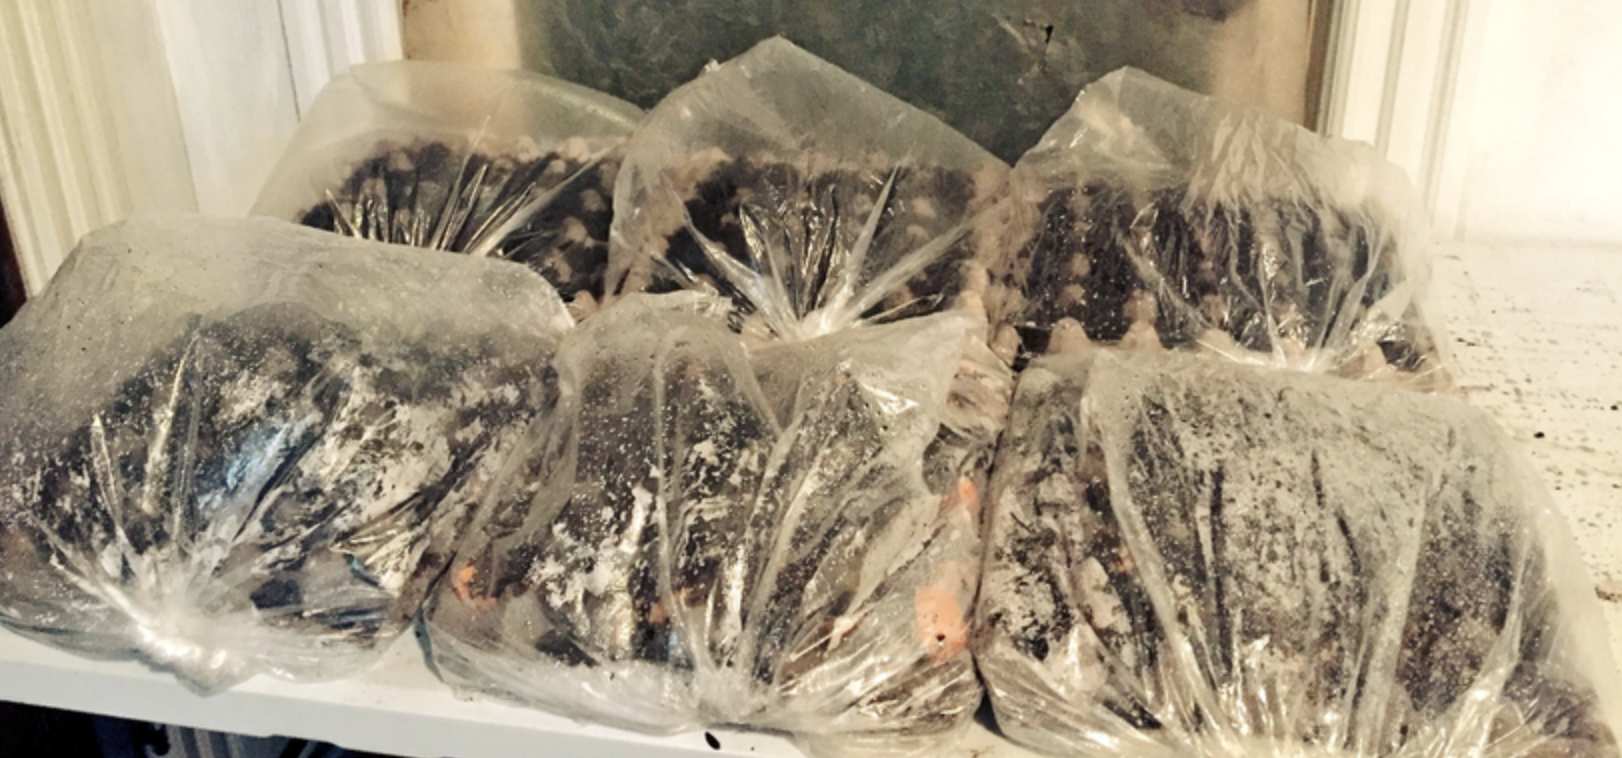
Covered with a plastic shopping bags, changing the air in twice a day. Eventually those will come off. This is just for generating heat for germination.
Place in south facing window if you're in the north hemisphere or north facing window for the southern hemisphere
Soil Medium
Living biology in the soil is the most important aspect to a successful germination. This means little microorganisms are living inside of the soil structure.
Keep it simple - you don't need to focus on ratios and expensive amendments
If you have bagged potting soil, it is nice and fluffy, but it's likely that it doesn't have a lot of microorganisms in it, so look for other sources of living soil in your area
start or visit a local vermicompost at a community garden to obtain living soil
collect local soil from outside in a wild area at least 30 feet from any roadway. You want soil that is soft and easy to obtain, such as from a forest or park. Avoid hard clay or sand which are also devoid of microorganisms and difficult to plant in
Sifting compost is important to getting fluffy soil for your germination potting mix
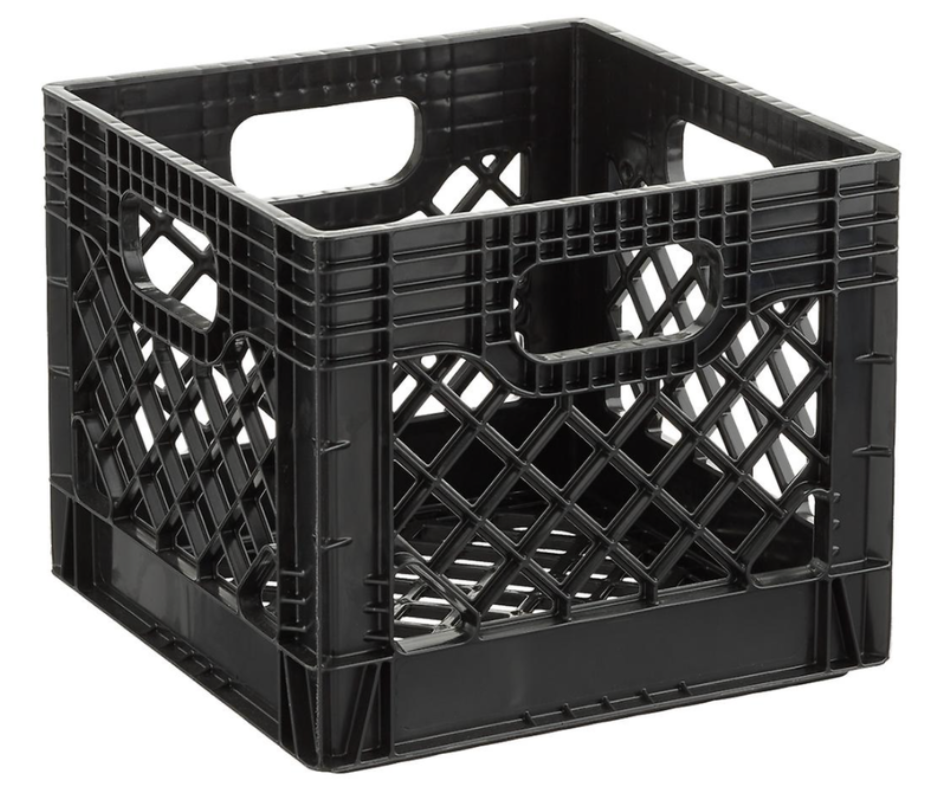
No sifter? Use a crate. (Shown below) Handles are already built in, making sifting easy in a standing or kneeling position. Biggest downside is that it doesn't produce a fine sift like working with 1/2 or 1/4 hardware cloth, but it will suffice.
Sifted mix should look something like this
Pack soil into seed trays all the way up to the top, but remember that air is your friend, you want the soil to still be loose and spongy
Moisture levels are tough to gauge, so you must pay close attention. You do not want your plants sitting in water, nor do you want the tray to get completely dry. Starting with a microclimate (bag cover) until germination will help keep heat and moisture trapped and will allow you to easily monitor these levels.
Remove once plants can be spotted, as long as your indoor temperatures are stable, and continue to water the top of the soil daily to maintain moisture which will be lost due to heat causing evaporation. Check the tray bottoms for adequate moisture.
Seeds
Refer to your seed information regarding how long germination will take
Once germination occurs, and indoor temperatures are stable, remove microclimate
We prefer to multi sow. This is the process of adding more than 1 seed to a pod, allowing for stronger root systems to develop. We do not typically thin out plants, and will plant them in the ground as a cluster as well
Best strategies for getting free seeds include drying your own seeds from your produce, joining a seed share, or getting seeds from a local library. More info in our Urban Farm Cheat Sheet
Water
Filtered water is best, as chlorine kills bacteria in your soil
Standing tap water for more than 24 hours may help with this
Capture rainwater outside and use this instead
Sun/Light
The key to managing sun/light is your climate conditions
Do a site analysis for where you plan to germinate your seeds
Avoid drafty areas, areas of extreme heat or cold, and intense sun
Winter sun is south facing in the northern hemisphere, so window light from this side will be more conducive to germination
Rotate your seed trays to avoid plants growing sideways
If you are having trouble managing moisture and heat as you begin this process, consider moving your trays somewhere else. You want consistent warmth and consistent moisture
If no outdoor light is available, you can use crates to set up a grow light and microclimate system. This system is vertical and stackable.
CO2
Your plants need CO2! Speak to them! Sing to them!
Make sure to exchange the air in your microclimates and in the room generally
Once your seedlings are established and presenting their first true leaves, you'll want to transition them into larger pots, buckets, raised beds, or ground level garden beds.
The cornerstones of starting seeds for little to no cost are as follows:
You NEED Living soil
Adequate moisture and drainage
Adequate sunlight and warmth
Good skills of observation
Questions about starting seeds? Drop 'em below!


